A perfect espresso shot is a work of art.
But let’s be honest, creating a flawless crema is no walk in the park. It takes precision, the right tools, and a bit of experimentation.
But fear not! In this article, I’ll explore the ins and outs of espresso crema. I’ll cover everything from the factors that affect its creation to the exact steps you need to take to make the perfect crema.
And if things go awry, I’ve got some troubleshooting tips to help you get back on track.
5 Steps to Making Perfect Espresso Crema
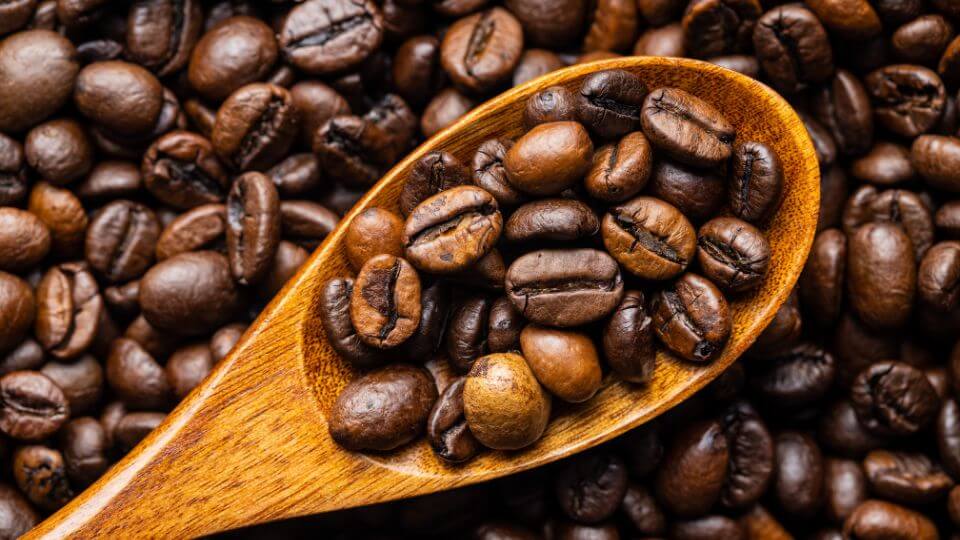
Step 1: Choose the right coffee beans

If you’re looking to create a perfect espresso crema that’ll make your taste buds do a happy dance, then you need to nail the very first step – choosing the right coffee beans!
First off, freshness is key! You don’t want to be stuck with stale beans that have been sitting on store shelves for months on end. So, make sure to choose beans that have been roasted within the past 2-3 weeks. Look for that roast date on the packaging and avoid any beans that look like they’ve been gathering dust.
Next up, let’s talk about the roast level. For the perfect balance of flavor and crema, go for medium to dark roast beans. Just keep in mind that the darker the roast, the less crema you’ll end up with.
On top of that according to Food Research International, robusta coffee produces more crema than Arabica, but Arabica cream is more stable and lasts longer.
And finally, if you really want to up your coffee game, go for whole beans instead of pre-ground.
For those in a hurry, here’s a brief summary:
Choosing the right coffee beans is crucial in making perfect espresso crema; choose fresh beans that have been recently roasted, consider medium roast level for more crema, and buy whole beans and grind them just before brewing for the best results.
Step 2: Grind the coffee beans to the appropriate size

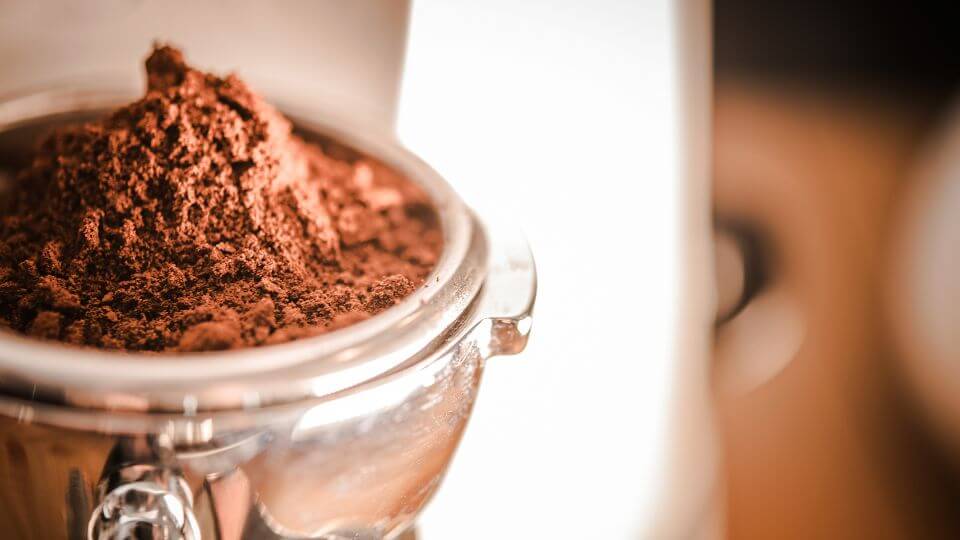
Alright, buckle up for the second step in the quest for perfect espresso crema – grinding those beans to the perfect size!
Now, let’s get one thing straight – size matters! For espresso, the grounds need to be super fine to get the most flavor and aroma out of those little beans.
So, what’s the best tool for the job? A quality burr grinder, of course! It can produce uniform grounds that are essential for a consistent espresso shot. And please, for the love of coffee, avoid using blade grinders. They’ll only produce uneven grounds that’ll leave your crema looking uneven.
And here’s a pro tip – if you want maximum freshness and flavor, grind those beans just before brewing. Coffee beans start losing their flavor and aroma as soon as they’re ground, so you want to make sure you’re using freshly ground beans for the best espresso crema.
For those in a hurry, here’s a brief summary:
To make perfect espresso crema, grind the right coffee beans to a fine consistency using a quality burr grinder just before brewing to ensure maximum freshness and flavor.
Step 3: Tamp the coffee grounds with the right pressure

It’s high time to talk tamping!
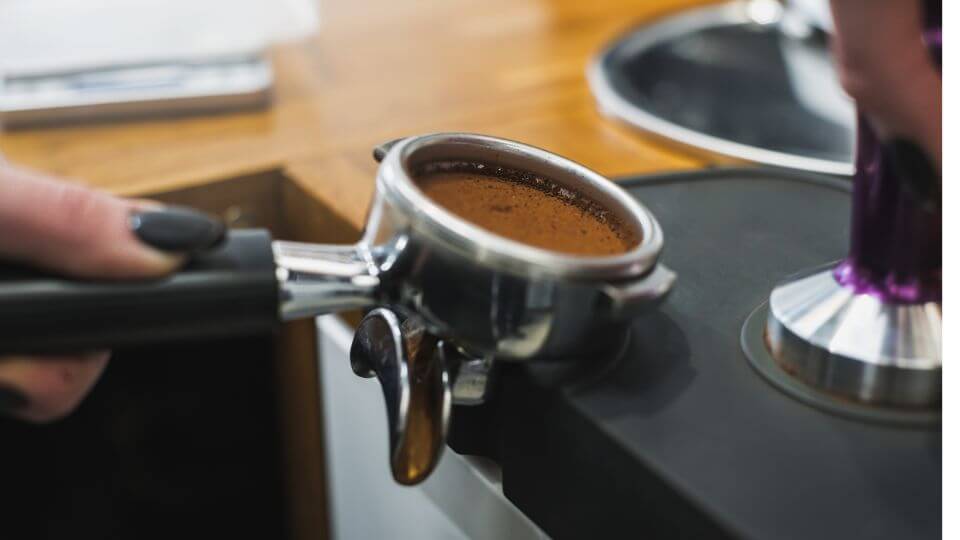
Tamping is all about compressing those coffee grounds into a neat little puck inside the filter basket.
Why is this step so important, you ask? Well, tamping ensures that the water flows evenly through the coffee, extracting the maximum amount of flavor and aroma. And trust me, you don’t want your espresso shot to be weak and watery – that’s like drinking decaf on a Monday morning!
Now, let’s talk about the tamper. You want one that fits snugly into the filter basket and has a flat and even surface. It’s like picking the right partner for a dance – you want someone who matches your moves and won’t let you down.
Just remember, there’s a delicate balance to tamping. If you tamp too lightly, the water will pass through too quickly, resulting in a weak shot. And if you tamp too hard, the water won’t flow through properly, leaving you with an over-extracted and bitter taste.
Make sure to read this article if you want to learn more nitty-gritty details about properly tamping espresso, but if not just remember that the ideal pressure for tamping coffee grounds these days is around 30 pounds of force (used to be 40 in the past)
For those in a hurry, here’s a brief summary:
To extract maximum flavor and aroma and avoid a weak or watery espresso shot, it is crucial to tamp coffee grounds correctly, use a good tamper and apply around 30 pounds of force.
Step 4: Ensure the water temperature and pressure are correct
When it comes to brewing the perfect espresso crema, water temperature, and pressure are key players in the game.
First up, temperature – we’re talking between 197°F and 205°F (90°C to 96°C) here, folks. Think of it like trying to get the perfect temperature for a hot tub – too hot and you’ll be jumping out, too cold and you’ll never want to get in.
And let’s not forget about pressure – we’re talking 9 bars (130 psi) to force that water through that compact puck of coffee grounds.
But, there’s a catch – you need to make sure that water temperature and pressure are consistent. That’s why you need to purge the group head before making espresso. Think of it like running a warm-up lap before a race – it gets everything in tip-top shape and ready to go.
For those in a hurry, here’s a brief summary:
To brew perfect espresso crema, it is essential to use water at a consistent temperature of 197-205°F, 9 bars of pressure, and purge the group head before making espresso.
Step 5: Extract the espresso shot with the appropriate timing
Alright, we’ve made it to the grand finale – extracting that perfect espresso shot!
Timing is everything, around 25 seconds is the sweet spot for extracting that perfect shot. It’s like trying to hit that high note in your favorite song – you need to hold it just long enough to make it epic.
And let’s not forget about the ratio – it’s all about that 1:2! We’re talking 1 gram of coffee for every 2 grams of water. This ratio ensures that our espresso shot is neither too weak nor too strong, and produces the perfect crema – like a creamy dream in your cup.
For those in a hurry, here’s a brief summary:
To extract the perfect espresso shot, it’s important to time it for about 25 seconds and use a ratio of 1:2, which means using 1 grams of coffee for every 2 grams of water, to achieve the perfect crema.
Troubleshooting Espresso Crema Issues
How to get less crema on espresso?
The secret to less crema is a coarser grind and a darker roast.
When using a coarser grind size, the coffee particles will be less compact and allow water to flow more freely, which can result in less crema on your espresso shot.
Alternatively, darker roast coffee beans are known to produce less crema than medium roast coffee beans. By choosing a darker roast, you may be able to reduce the amount of crema that forms on the surface of your espresso shot.
What to do when my crema is thin or weak?
The main reason causing crema to be thin or weak is under-extraction, which means that the coffee grounds haven’t been extracted enough to create a rich crema.
This can occur due to a variety of factors, including using the wrong grind size, tamping too lightly, or using water that is too cool or low in pressure.
Why there’s no crema on my espresso? (5 most common reasons)
If you’re not getting any crema on your espresso shot, there could be several reasons for this issue.
First up, we’ve got stale or low-quality coffee beans. If your beans aren’t producing enough oils, you’re going to be left with a crema-less disaster.
Next, we’ve got the wrong grind size – too coarse or too fine, and your crema dreams will crumble like a house of cards. The optimal grind size for espresso is fine and consistent.
And let’s not forget about the amount of coffee – using too little can result in a weak extraction and not enough crema.
And last but not least, we’ve got tamping – too light and you won’t be able to extract enough oils for that beautiful crema. It’s like trying to give a weak high-five – it’s just not going to leave an impression.
And if all else fails, it might be time for a deep clean of that espresso machine. A dirty or clogged machine can affect the quality of your shot.
My crema is sour and bitter
Crema is generally supposed to be a bit bitter. The carbon dioxide (CO2) trapped in the crema gives it a slightly bitter taste that can balance out the sweetness of the espresso shot.
However, if the crema is overly bitter, it may be an indication of other issues, such as using old or low-quality coffee beans or over-extracting the espresso shot.
My Final Thoughts
Making perfect espresso crema is an art that requires precision, patience, and a little bit of science.
It’s not just about grinding coffee beans, tamping, and brewing. It’s about understanding the perfect balance of freshness, roast level, grind size, water temperature and pressure, and timing.
All these elements are crucial in achieving the perfect crema, that beautiful layer of rich and creamy foam that sits on top of your espresso shot.
By following the five steps I mentioned, you can master the art of espresso making and create the perfect crema every time.
Remember, it takes practice, patience, and a lot of trial and error to perfect your technique. So, keep practicing, keep experimenting, and keep enjoying your perfect cup of espresso.

