Love sipping multiple cups of coffee a day but hate cleaning the percolator? Maintaining the percolator’s cleanliness is essential for preserving the coffee’s flavor and prolonging the machine’s lifespan.
While a quick search for “how to clean a percolator” yields hundreds of videos, not all of them are helpful. After watching several, I realized that cleaning was not an easy task.
So, I consulted my barista friend for his expert percolator cleaning tips. Baristas use percolators every day to brew hundreds of cups, making them the perfect source for cleaning advice.
In this article, I have compiled a detailed process for cleaning your percolator, including simple steps for different types of percolators (including electric ones).
Say goodbye to wasting time watching videos, as you’ll find everything you need here.
How To Clean a Percolator Coffee Pot: My 5 Steps Guide
I’ll show you how to clean a percolator with baking soda and vinegar. It is definitely the best way to clean it as it won’t damage the percolator’s interior or leave any harmful residue behind.
Plus, baking soda and vinegar are natural and inexpensive ingredients that are readily available in most households.
This is a five-step process you need to follow to make the percolator spick and span.
Just gather the ingredients and get into some action.
Step 1: Gather the Ingredients
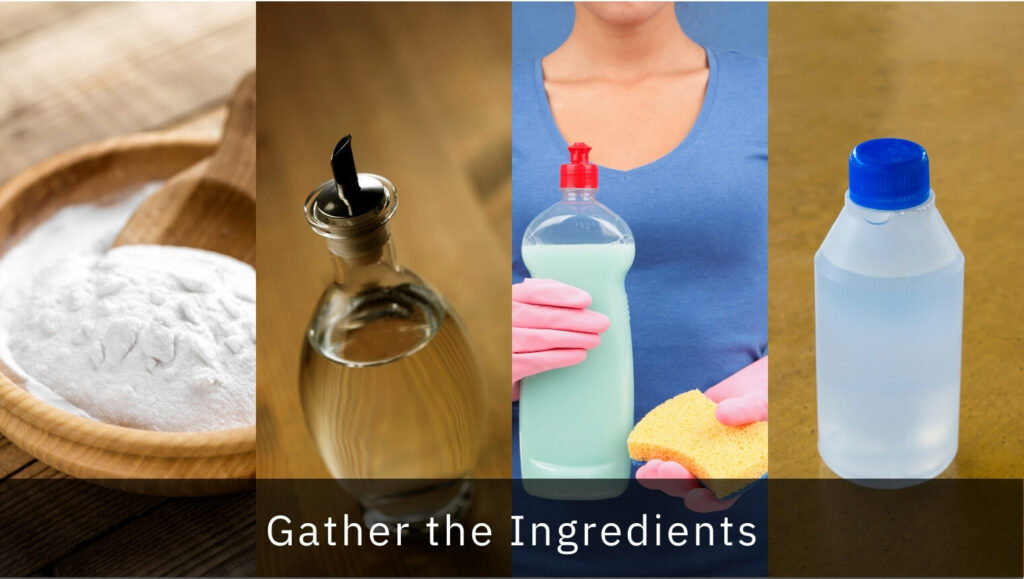
You will find most of these ingredients around the house, so there’s no need to rush to the supermarket. Just gather all the ingredients, and have them at hand when cleaning the coffee maker.
Here are the ingredients you need for effective cleaning:
- Baking soda
- White vinegar
- Dish soap
- Hydrogen peroxide
Each of these ingredients is beneficial for cleaning the coffee percolator thoroughly. From removing the curst to eliminating the smell, these natural ingredients will make the coffee maker spotlessly clean.
Step 2: Do the Basic Cleaning
Start with doing the basic cleaning, which involves the removal of thick crusts and other residue build-ups. As per professional baristas, you should avoid putting up the percolator in the dishwasher. Even if the user manual states that you can clean the parts in a dishwasher, avoid doing so.
Also, you should avoid using cleaning essentials like steel wool, or other abrasive scrubbers, as they can peel off the top layer from the coffee percolator.
Get a soft cloth or some spongy scrub for cleaning the percolator effectively. Get rid of the trapped granules, and make sure to clean them from the creeks. You can even use a pin or a toothpick to clean the coffee grounds.
Step 3: Give it a Thorough Vinegar Wash
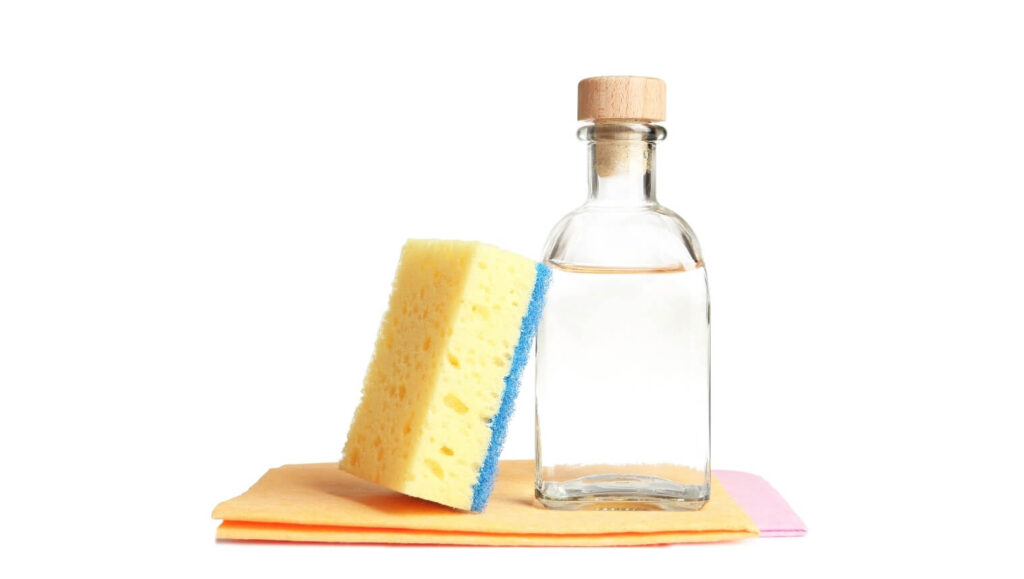
Vinegar is an effective ingredient when it comes to removing coffee stains (it is safe even if you have an electric percolator). Not just it terminates the smell, but it also cleans the residue build-up and is an entirely natural ingredient.
Commercial coffee cleaners are acidic in nature, and it results in a chemical reaction, so my barista friend told me to avert using any chemicals at all.
Pour some water inside the coffee maker, and clean it. Empty the water in the sink, and pour some vinegar into it. Add the vinegar halfway, and pour water until the percolator gets full.
It is essential to neutralize the vinegar, to curtail its acidic nature so that it doesn’t damage the metal.
Insert the coffee basket, and put the lid in place. Plug the machine, and start percolating. Meanwhile, you can read some percolated coffee recipes, as it may take around 20 minutes.
Once the timer alerts you, plug off the machine, and let it cool for some time. Empty the vinegar solution, and clean the percolator using dish soap.
Take a sponge with a few drops of dish soap on it, and clean the coffee maker thoroughly while protecting the electrical components.
Rinse it carefully, and fill the percolator with plain water. This time you need to run the percolating cycle with fresh water only.
I suggest running two cycles to get rid of the vinegar smell.
Step 4: Clean the Filter Basket
I sometimes clean the filter basket only, and the coffee percolator works really well. This is one of the main parts of the percolator as it filters the coffee and prevents the coffee grounds from falling inside the cup when pouring coffee.
However, cleaning the basket is not as easy as it sounds. The basket is small, and that’s the biggest problem with it.
But after some guidance from my friend, I was able to clean it pretty quickly. Take a pan and pour one glass of water and one glass of white vinegar. Heat it for some time, and dip the basket in the mixture.
Leave it there for some time, and turn off the heat after 2-3 minutes. You will see the mineral residues coming off the basket. After some time, put the basket in plain water, and rub it with a soft cloth to dry it properly.
Step 5: Deep Clean it with Baking Soda
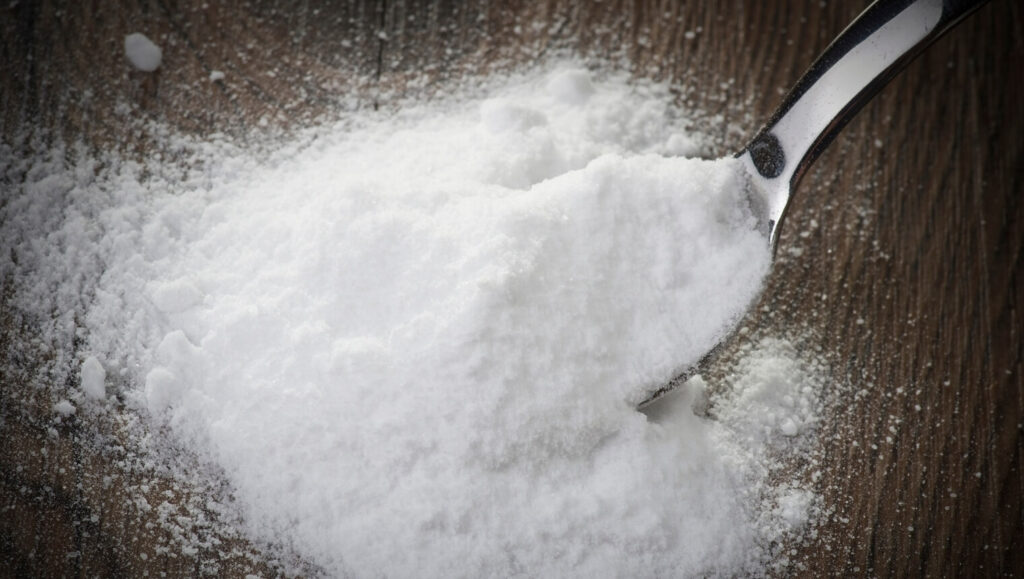
Most folks start using the percolator after cleaning it with vinegar, but they skim an important step which is deep cleaning. Baking soda is a fantastic ingredient that removes different kinds of dirty elements, which vinegar and water don’t remove.
Add two tablespoons of baking soda to the percolator and pour some water into it. Mix it well, and let the mixture sit for some time. Don’t use any abrasive tools, as they can peel off the layer from the percolator.
Flush the mixture down the drain, and add half a cup of hydrogen peroxide. Hydrogen peroxide shares some properties with a mild bleach and is an effective cleaner. It can quickly remove the stubborn stuff clinging inside the coffee percolator.
Stir the solution for some time, and let it sit for 30 minutes. Flush it in the sink, and clean the coffee maker using hot water.
Let it dry, and the percolator is ready to brew coffee.
Other Tried and Tested Methods to Clean a Percolator
So, you don’t have baking soda available at the moment? Or are you looking to clean the coffee maker without vinegar? There are some other methods as well.
If you have a stainless-steel percolator or an old one that works on the stovetop, then you can use the following cleaning methods.
However, I suggest the vinegar and water mixing method when it comes to cleaning the basket.
How to Clean a Percolator Using Denture Cleaning Balls
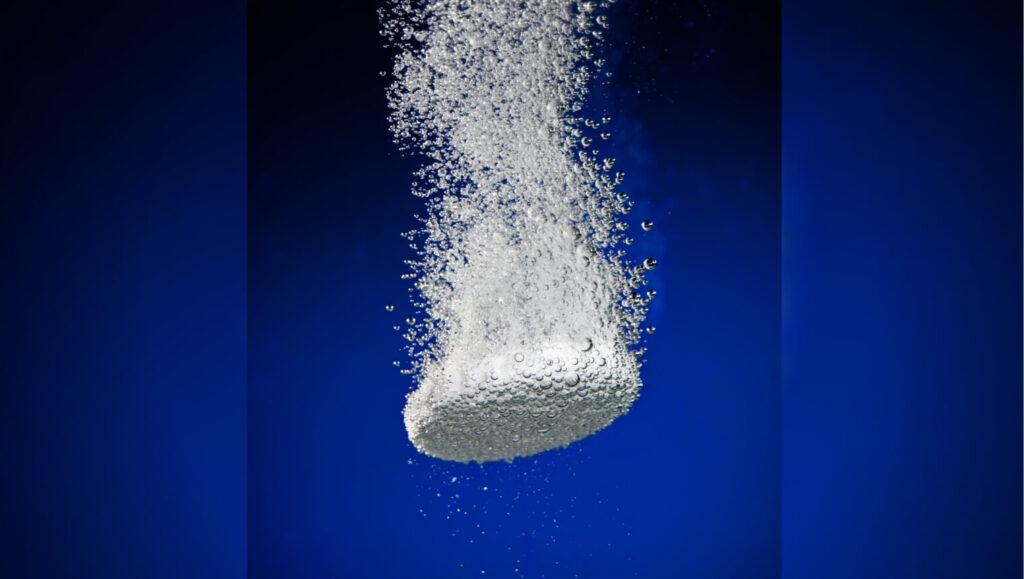
Denture cleaning balls aren’t that popular as some folks think that they aren’t as effective as vinegar and baking soda. But I gave it a try, and the results were impressive.
Denture cleaning balls are effective against cleaning the stubborn coffee stains that you cannot remove with baking soda. Moreover, they are great for cleaning stainless-steel percolators quickly.
All you need to do is take some warm water in the coffee percolator and add two or three denture balls to it.
Stir so the balls dissolve quickly and let the solution sit for some time. Flush it in the sink, and rinse the coffee pot using freshwater.
How to Clean a Percolator Using Crushed Ice and Salt
Take ½ cup of crushed ice, and add two tablespoon salt to it. Now add it to the percolator, and then cool water to fill the entire coffee pot. Cut a lemon, and squeeze it, or you can add one tablespoon of lemon juice.
This is the best method to clean a burnt percolator. Shake the coffee maker so that the burnt coffee residues get loose and start coming off.
Once the percolator gets clean, flush the solution in the sink, and rinse it with clean water.
Why Is It Important to Clean the Percolator?

Is it really important to clean the percolator regularly? What happens if you don’t keep the percolator frequently? If you drink percolated coffee daily, you’ll already know why cleaning is essential.
But if you have a new percolator, here’s something you should know. If you don’t clean the percolator regularly, the residue will build up inside it, and it will impact the coffee’s flavor.
The water and beans contain minerals that calcify when heated, so you will notice a crust inside the coffee maker. This thick crust can even block the flow of coffee, and I know you don’t want that to happen.
Another reason to keep the percolator clean is to prevent the filter basket from getting clogged. The filter basket is an essential component of the percolator, which is responsible for providing smooth coffee.
You will notice a drastic downfall in the taste and consistency of coffee if you don’t clean the percolator regularly.
The last reason for cleaning it is the smell. The crust and clogging can result in a foul smell, which can also invite mold.
You will encounter a tinge of flavor in your coffee due to the residue build-up, so cleaning it after every brewing cycle is paramount.
How Frequently Should You Clean the Coffee Percolator?
Another question that people usually ask me is: how often I should clean my coffee percolator? Well, it depends on several factors, such as how often you use the percolator.
When compared to modern coffee-making machines, percolators get dirtier quickly, so you should clean them frequently.
I prefer cleaning the percolator after every use to prevent the growth of mold and bacteria. There is a valid reason why cleaning after every use is necessary.
You heat coffee beans and water in a percolator, and after some residue always remains there clinging to the coffee pot, it attracts bacteria, and you will see mold formation as well.
If you own a stainless-steel percolator, I suggest cleaning it regularly. It won’t take a lot of time once you get habitual to cleaning the coffee pot.
Frequently Asked Questions: How to Clean a Percolator
How do you clean a stainless-steel percolator?

Cleaning a stainless-steel percolator is easy, and you can use any of the methods listed in this article. Here is a quick recap: take a percolator and fill it with water and white vinegar. Let the mixture sit for some time, and shake it well.
Now add two tablespoon of baking soda after emptying the mixture, and add some hydrogen peroxide. Stir, and drain it in the sink. Rinse the coffee percolator, and it is ready to use again.
How to clean a percolator bong?

Cleaning a percolator bong is essential to improve the coffee’s flavor. Furthermore, it isn’t that hard and merely requires 5 minutes. Get a soft-bristled cleaning brush and clean the bong carefully.
Make sure to remove the coffee granules and other residues that you see sticking to them. After the basic cleaning, put the bong in hot water, with a few drops of dish soap in it.
Use a washcloth to clean the outer, and rinse thoroughly.
How do you clean an aluminum coffee pot?

Toss in two tablespoons of baking soda in the percolator’s basket, and add some water. Run one cycle, and empty the solution. Add clean water and run one cycle again. Unplug the percolator, drain the liquid, and clean it using a soft cloth.
How do I stop my coffee from burning in a percolator?

A: Cleaning your percolator from the burnt crust is challenging, so you should prevent coffee from burning in the first place.
Don’t overheat the coffee, as the entire water will convert into steam, and the coffee grounds will caramelize, making the percolator dirty. Also, use good quality coffee grounds when using a percolator.
Read the recipe thoroughly, and follow it carefully to avoid burning the percolator.
How do you clean a coffee maker with vinegar and baking soda?
Fill half of the percolator with vinegar and add an equal amount of water to it. Let the mix sit for some time, and shake the coffee maker to remove the stubborn dirt. Empty the mixture into the sink, and fill it with water.
Throw two tablespoons of baking soda, and stir it to combine. After 15 minutes, flush the solution down the drain, and clean the coffee pot using a soft cloth.
Takeaway
This is everything you need to know about cleaning a percolator. There’s a misconception that cleaning percolators is hard and time-taking, but that’s not the case. After a few cleaning trials, you will find it really easy.
Make sure to clean the percolator, filter basket, and bong frequently to avoid any residue buildup inside the coffee maker. The quickest cleaning method of all is using the denture tabs.
If you have limited time, just toss some denture tabs in the coffee pot, add some water, and voila; it’ll get free from mineral and residue build-ups.
The coffee will taste even better with a clean percolator, and that’s for sure!